 Vitalii Holben
We Tried Monitoring Competitors Manually. Here's Why We Stopped.
We started monitoring competitors the way everyone does. Print Screen, save to a folder named by date, open two files side by side, squint. It worked for about four days. On day five we forgot. Day six we remembered but couldn't tell if the pricing page had changed or if we were just looking at it differently. By the end of the second week, the folder had gaps, the naming was inconsistent (was it "competitor-A-june-12" or "compA-0612"?), and we'd already missed a competitor testing a new pricing tier for 48 hours before reverting it. We only found out about that one because a colleague mentioned it in passing.
The core problem isn't discipline. It's that doing it by hand doesn't scale past one or two pages. Adding a third URL means three screenshots, three comparisons, three chances to forget. At ten URLs it becomes a part-time job. And your eyes simply can't spot a price changing from $29 to $31 in a visual diff on a page with dozens of numbers, or a single row quietly removed from a comparison table. We tested this internally by changing one number on a mock pricing page and asking three people to find it. Two of them missed it entirely. The third found it after four minutes of staring.
We're not saying manual screenshots are useless. They still make sense for one-off captures: a report, a presentation, a quick check before a meeting. But for ongoing tracking where missing a change has real consequences, there's no comparison. The moment you need history, consistency, or coverage across more than a handful of pages, the manual approach falls apart.
What changed when we automated
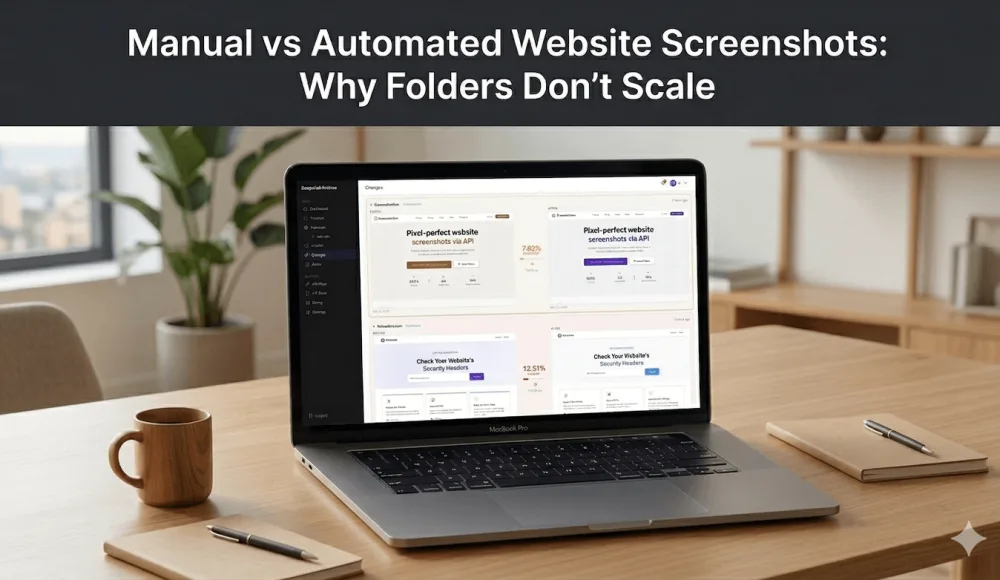
We switched to automated captures and the difference was immediate. Set the URL once, pick a frequency, and the system handles the rest. No weekends off, no gaps in the archive, no "I forgot to check." We picked Tuesday and Friday captures at first, then bumped to daily once we realized how often pages shifted. Visual diff runs on every capture, so you only look at the screenshots that actually changed. After one week, the archive had caught two changes we definitely would have missed: a reworded CTA button and a removed testimonial block. Both happened on a Saturday night.
The hardest part was admitting that our "system" of folders and good intentions wasn't a system at all. For a step-by-step walkthrough of how automated captures work (project setup, frequency, alerts, comparison modes), see our scheduled screenshots feature page.
Start archiving websites today
Free plan includes 3 websites with daily captures. No credit card required.
Create free account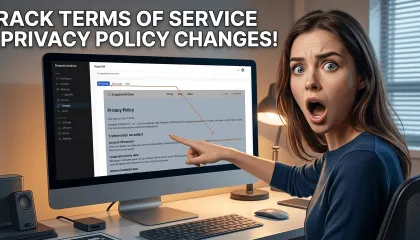
How to Track Terms of Service & Privacy Policy Changes
Terms of service and privacy policy pages change without warning. Here is how to set up automated screenshot monitoring so you always know what changed and when.
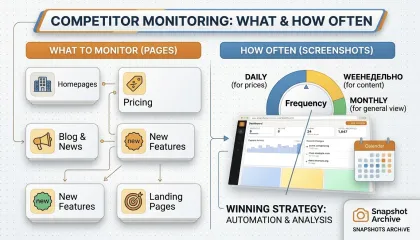
What Competitor Pages to Monitor and How Often to Take Screenshots
Most companies know they should monitor competitors, but few do it consistently. This guide covers the exact pages worth tracking — from pricing and homepage to careers and changelogs — with recommended screenshot frequencies for each, and how to turn 150+ monthly snapshots into actionable competitive intelligence.
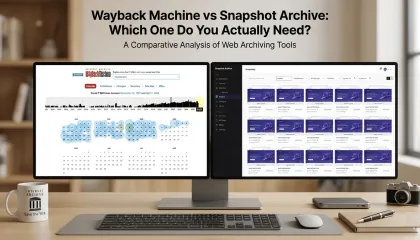
We Ran Hetzner Through the Wayback Machine and Our Own Tool
We tested both tools on the same site for a week. The capture frequency, cookie handling, and comparison features told us more than any feature table could.